-
Written By Kiran Sharma
-
Approved By
Vikash Bajpai -
Updated on May 14th, 2026
Best Ways to Import MBOX to Gmail Without Data Loss in 2026
Alex’s Query: “I have multiple MBOX files that I need to import into Gmail for easy access and backup. Is there a simple way to do it without losing emails, attachments, or folder structure?”
Introduction:- MBOX files are commonly used by email applications to store mailbox data, but accessing them directly inside Gmail is not possible. That is why many users look for reliable ways to import MBOX to Gmail without losing emails or attachments. This blog explains both the manual approach for small mailbox files and a professional MigrateEmails MBOX Migrator Tool. Each method helps users move emails securely while preserving important mailbox information.
MBOX vs Gmail – Key Differences
| Feature | MBOX | Gmail |
| File Type | Mailbox archive file | Cloud-based email service |
| Primary Use | Stores email messages locally | Access and manage emails online |
| Compatibility | Supported by Thunderbird, Apple Mail, etc. | Accessible through browsers and mobile apps |
| Accessibility | Limited to supported email clients | Accessible from anywhere with internet |
| Storage | Local system storage | Cloud storage |
| Bulk Management | Requires external applications | Managed directly through Gmail |
Why Users Upload MBOX to Gmail?
Here are a few reasons why users transfer MBOX emails to Gmail:
- Gmail provides easy access to emails from anywhere.
- MBOX files are difficult to open without compatible applications.
- Gmail offers better email organization and search options.
- Users can keep a secure cloud backup of old emails.
- Attachments and mailbox folders become easier to manage.
- Helpful during account migration or system upgrades.
- Makes long-term email storage simpler and more accessible.
Basic Approach to Import MBOX to Gmail
This manual approach works best when you only have a few MBOX files and do not mind using additional applications. The process takes time and requires Thunderbird configuration before emails can be uploaded into Gmail.
Verified Steps to Open MBOX to Gmail:
- Firstly, install and open Mozilla Thunderbird.
- Then, configure your Gmail account using IMAP settings.
- Now, install the ImportExportTools NG add-on.
- After that, right-click on Local Folders and import the MBOX file.
- Next, open the imported mailbox data.
- Finally, drag and drop the emails into your Gmail folders to upload them.
Limitations of the Manual Method:
- Uploading large MBOX files takes a long time.
- Some emails or attachments may not sync properly.
- Folder hierarchy may get disturbed during migration.
- Not suitable for bulk MBOX migration tasks.
- Sync interruptions can affect the transfer process.
Expert Solution to Import MBOX to Gmail
The MigrateEmails MBOX Migrator Tool helps users move MBOX files directly into Gmail without going through lengthy manual configuration. It supports bulk email migration while keeping attachments, metadata, email formatting, and folder structure completely intact. The software also gives users the flexibility to import MBOX to iCloud and other cloud-based email platforms whenever required.
Steps to Import MBOX to Gmail without Thunderbird:
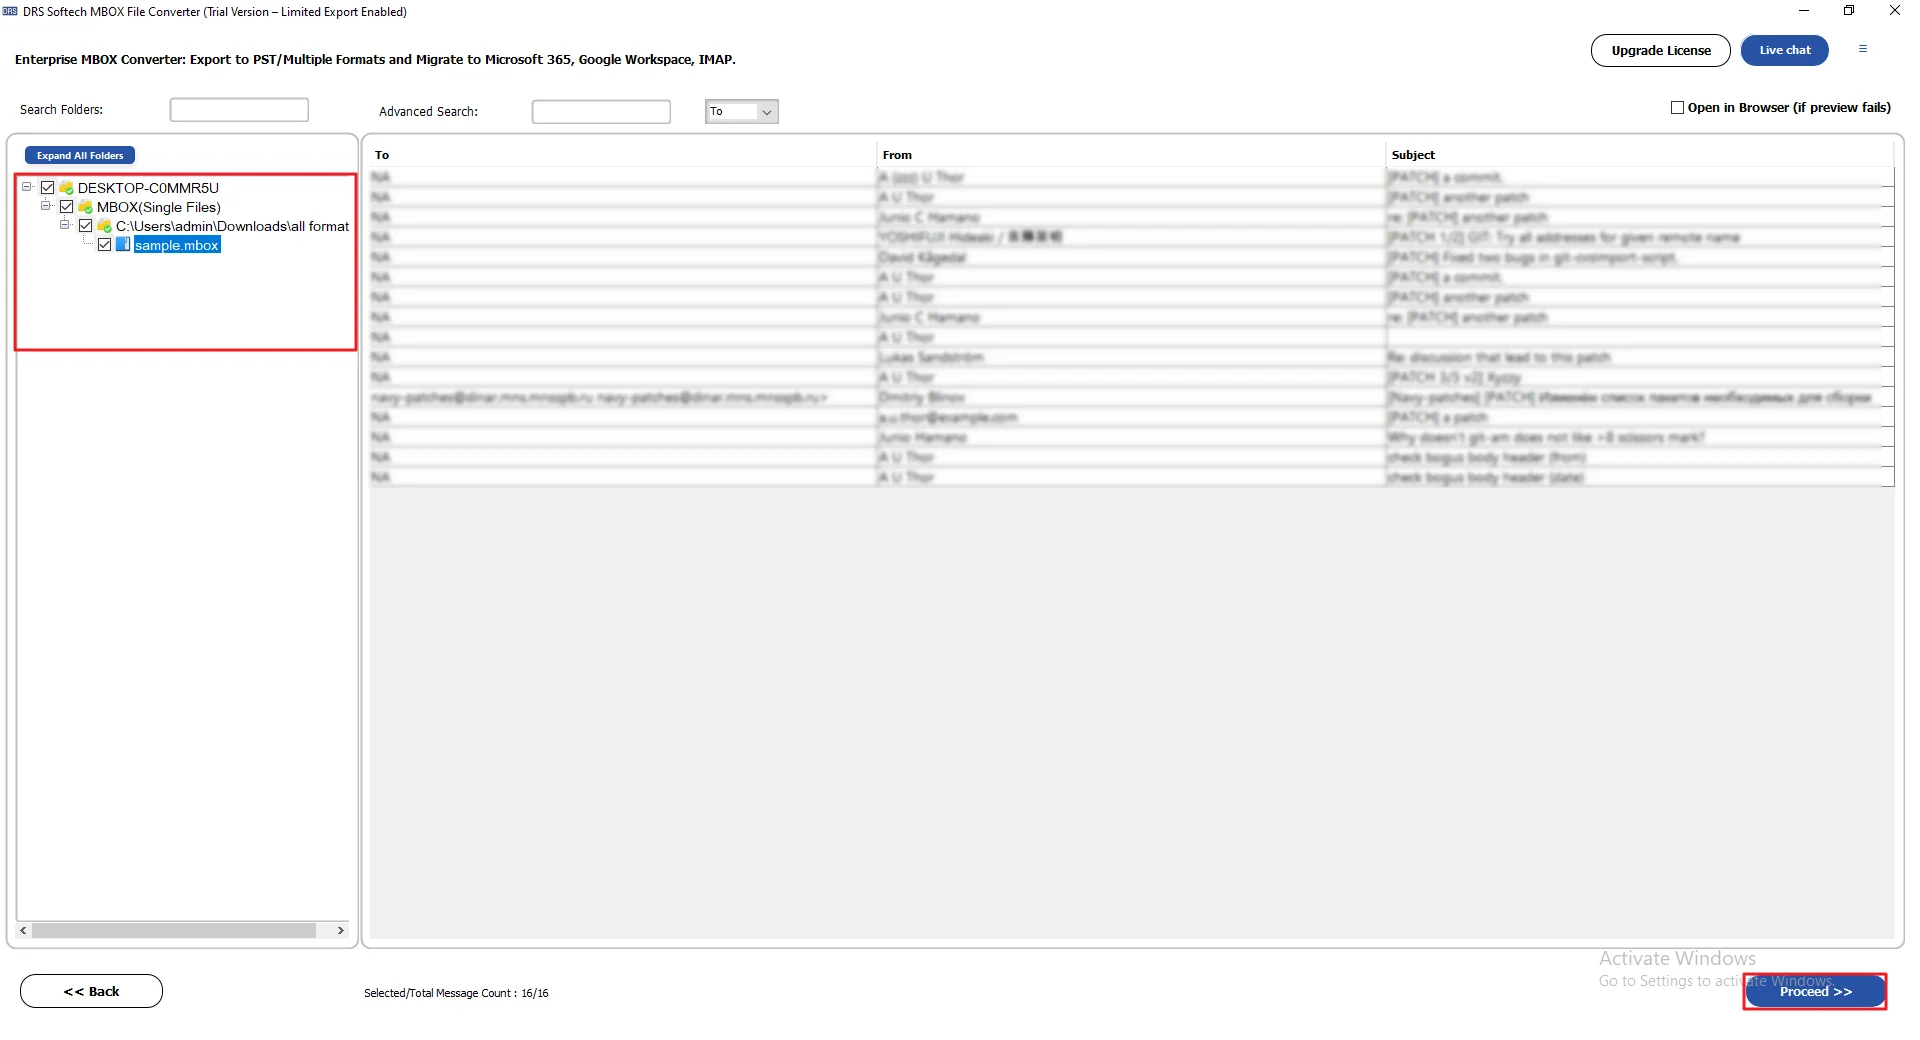
- Firstly, download, install, and launch the MBOX Migrator Tool.
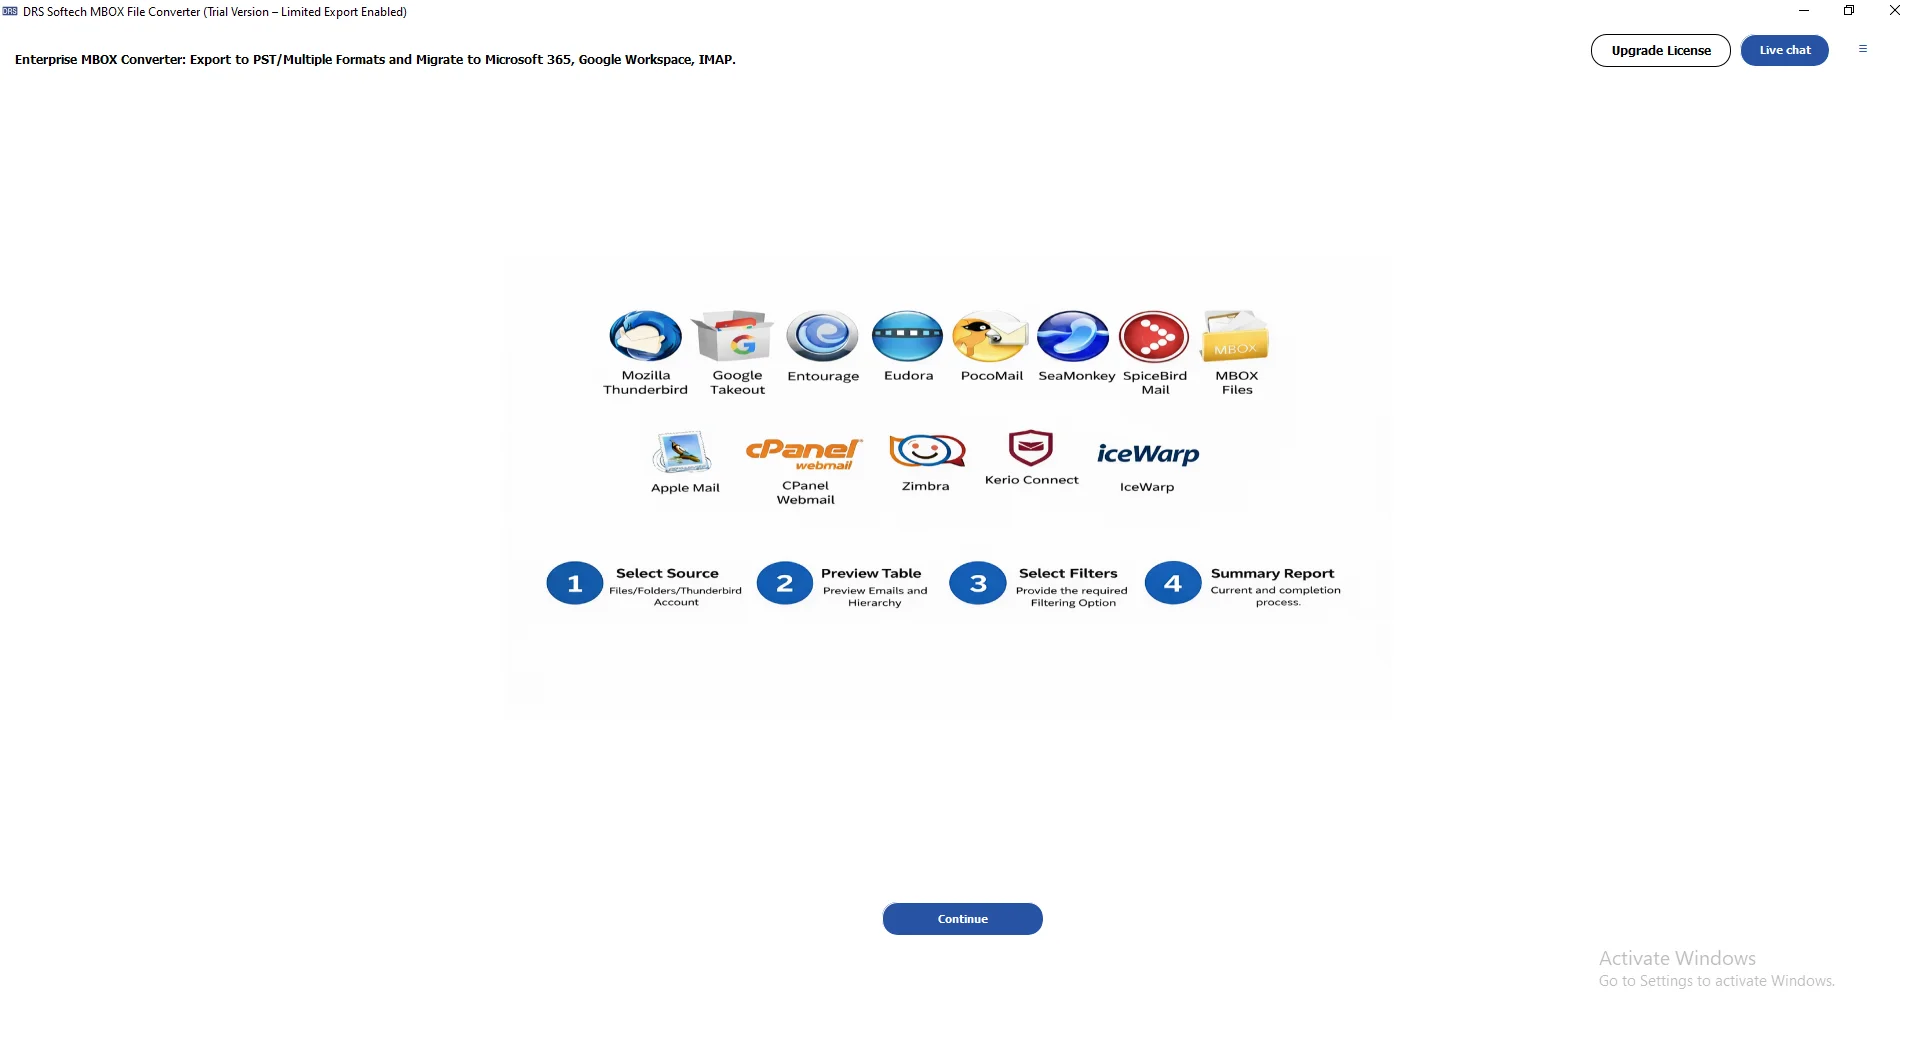
- Then, click Select MBOX Files/Select Folder to load MBOX files and press Proceed.
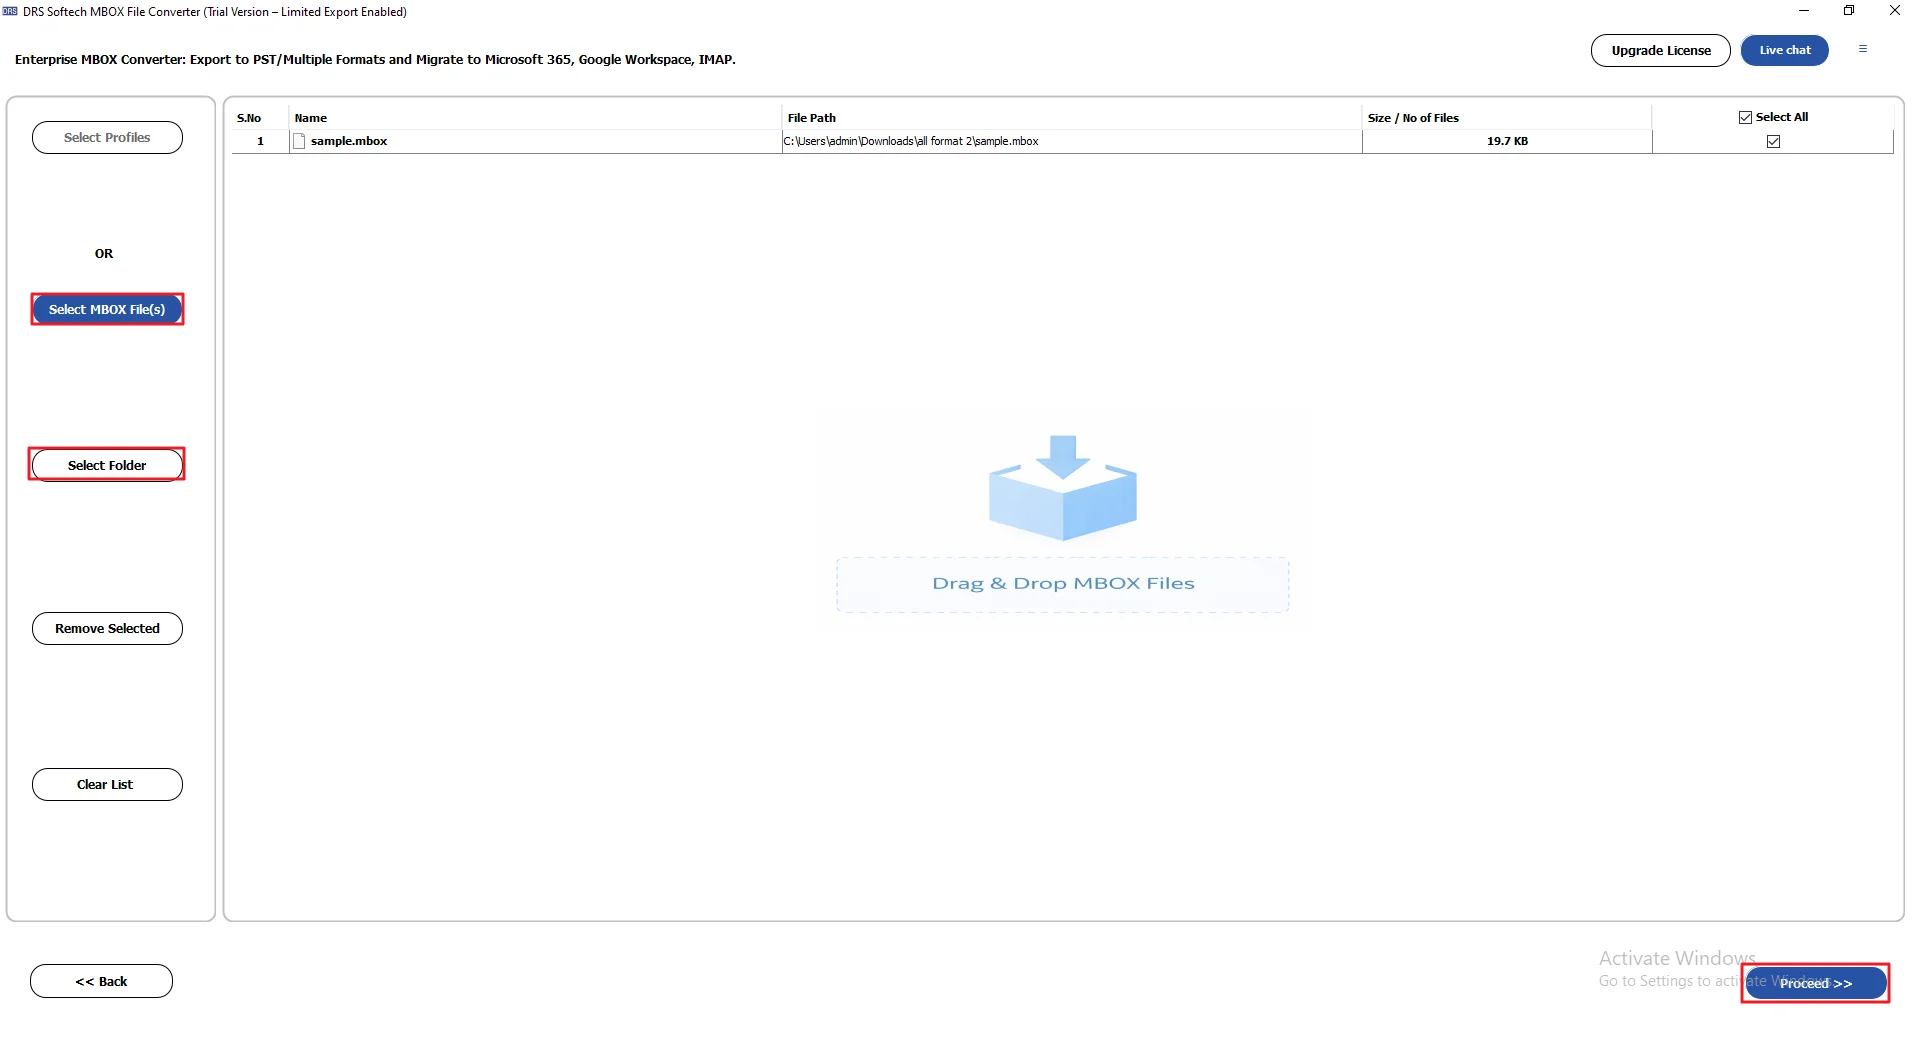
- After that, preview and select the MBOX files. Click Proceed.
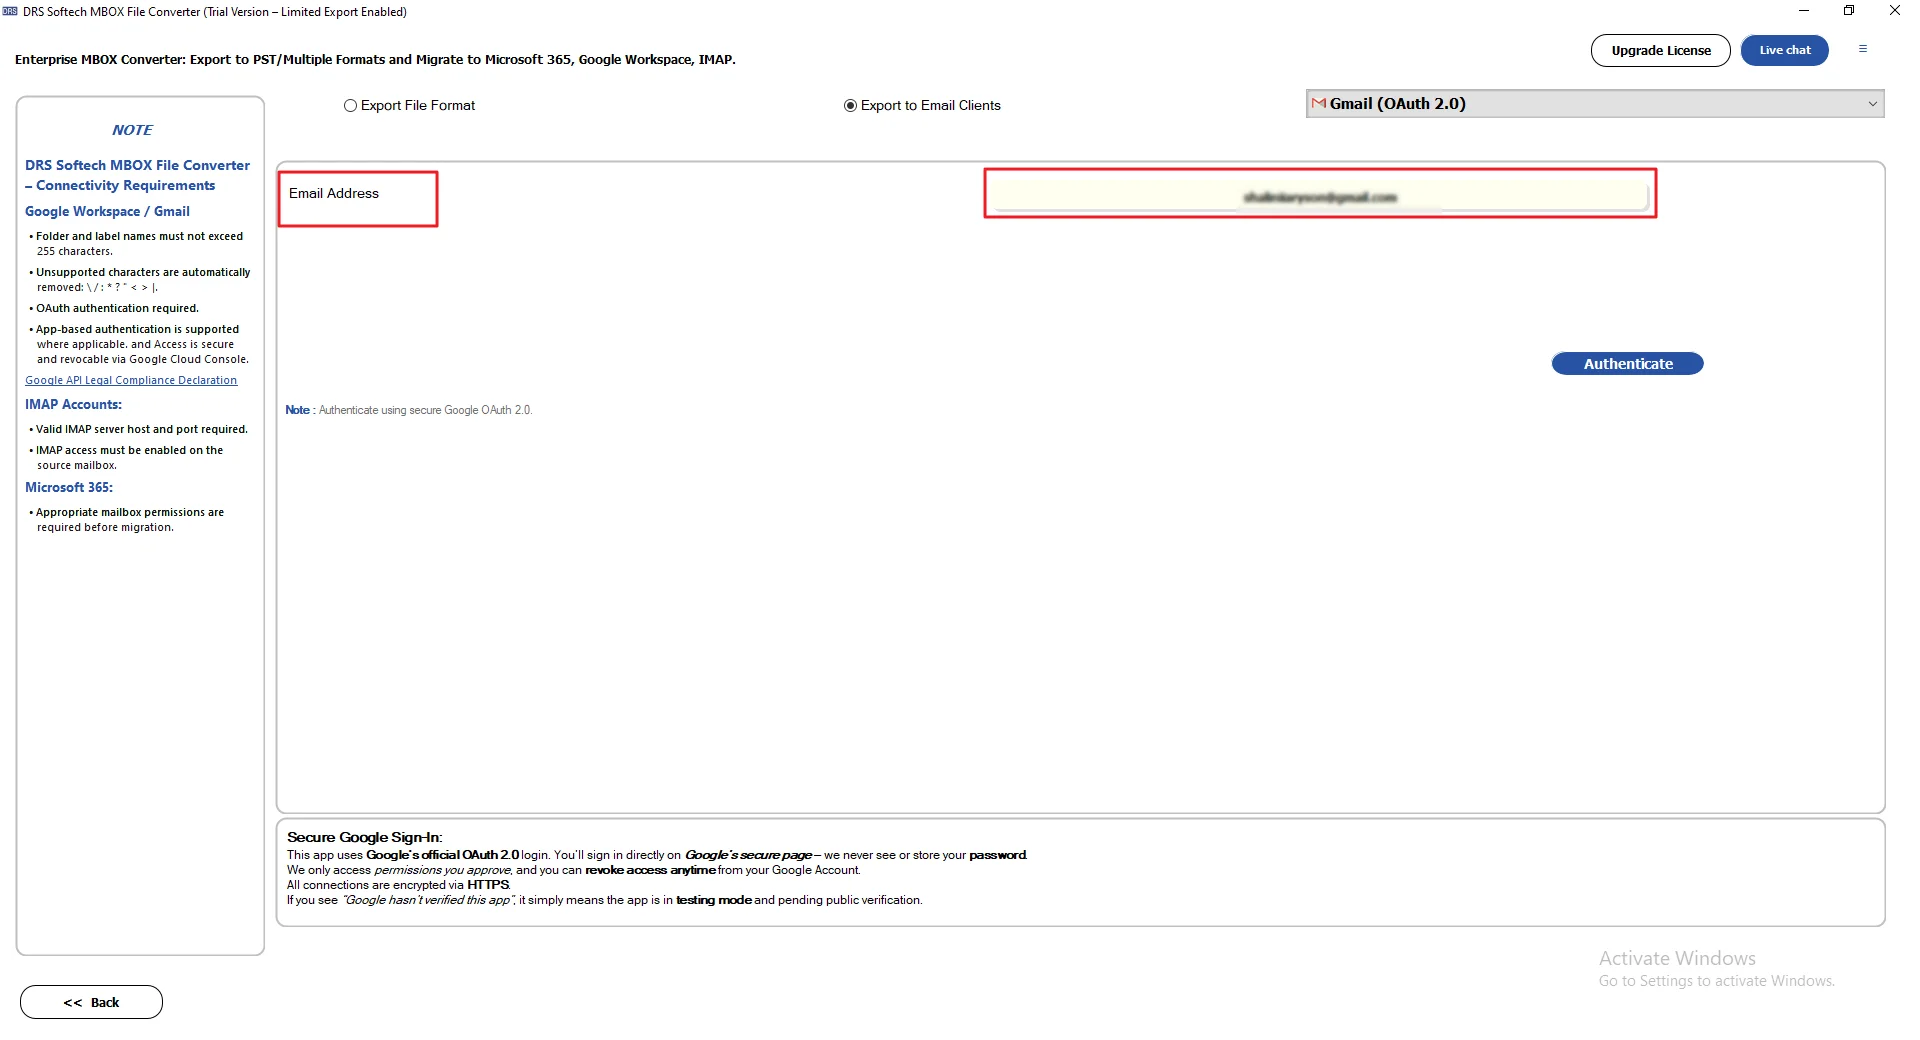
- Now, select Gmail as the email client.
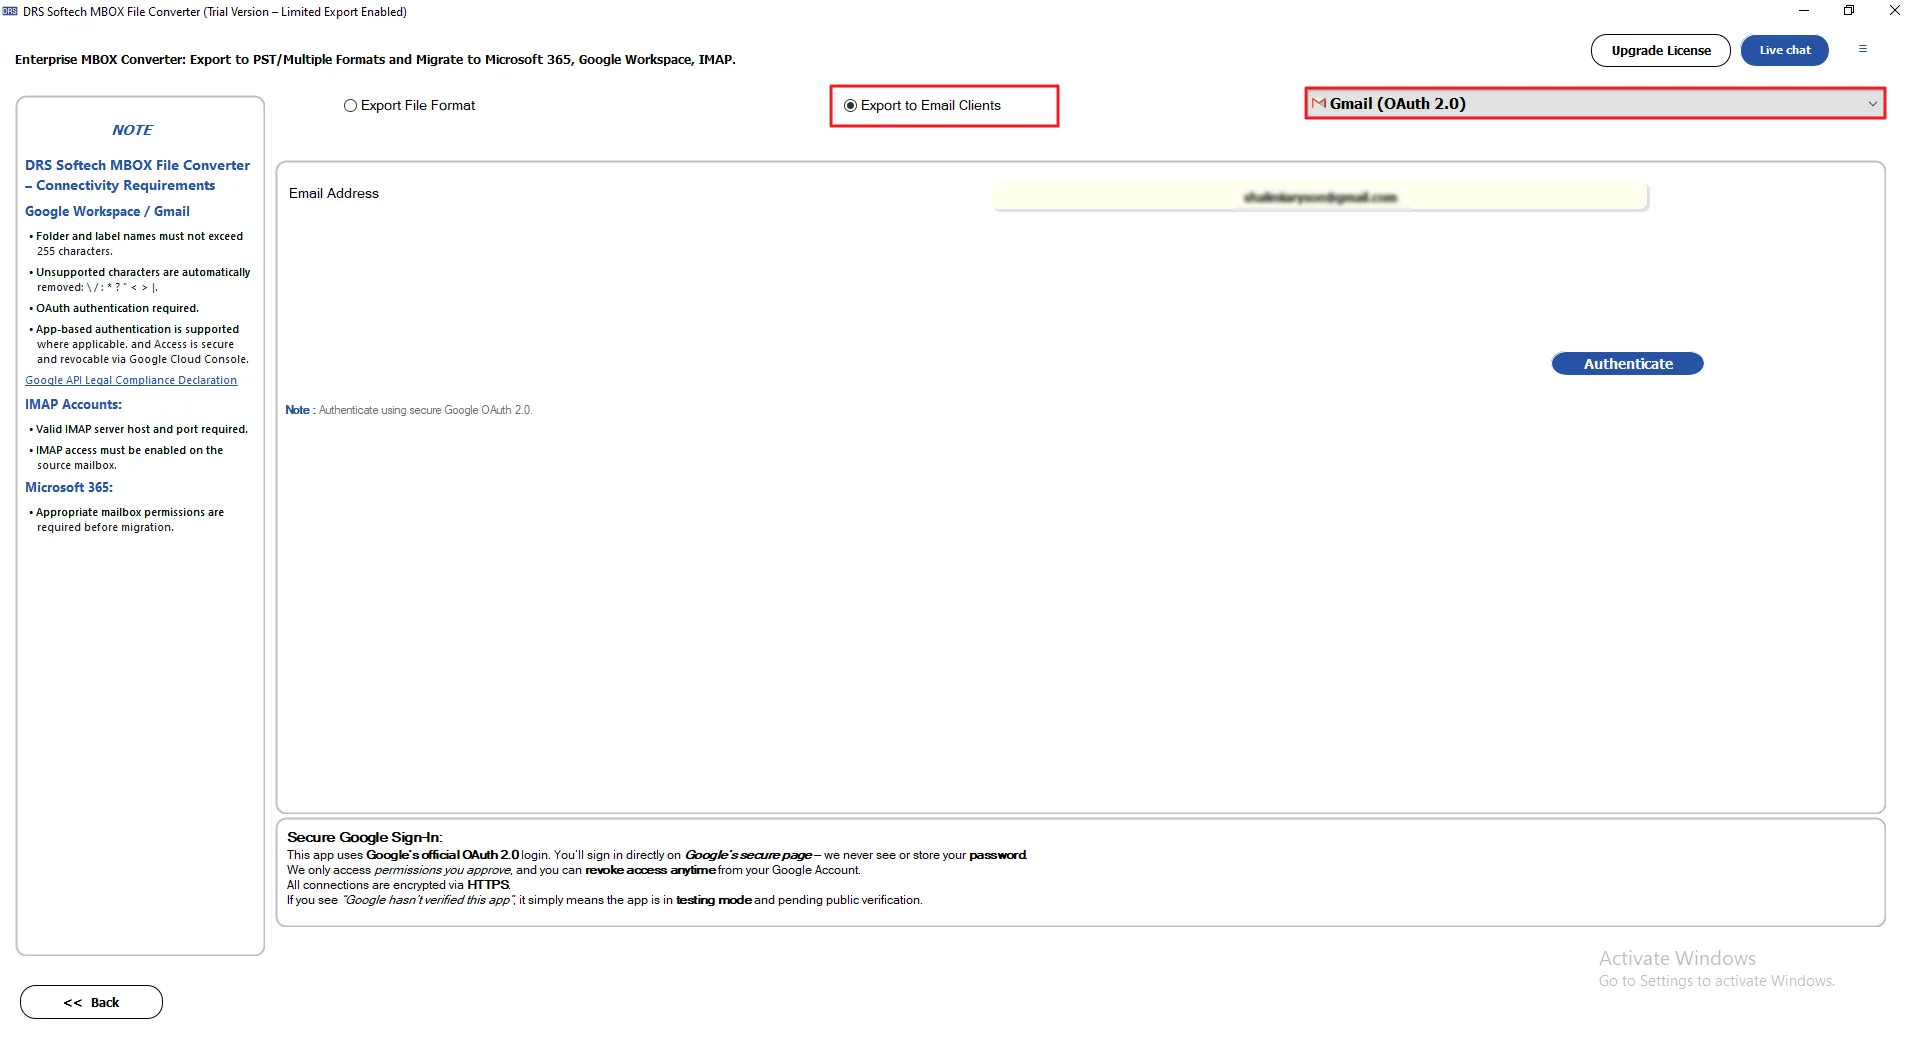
- Next, provide Gmail credentials to sign in.
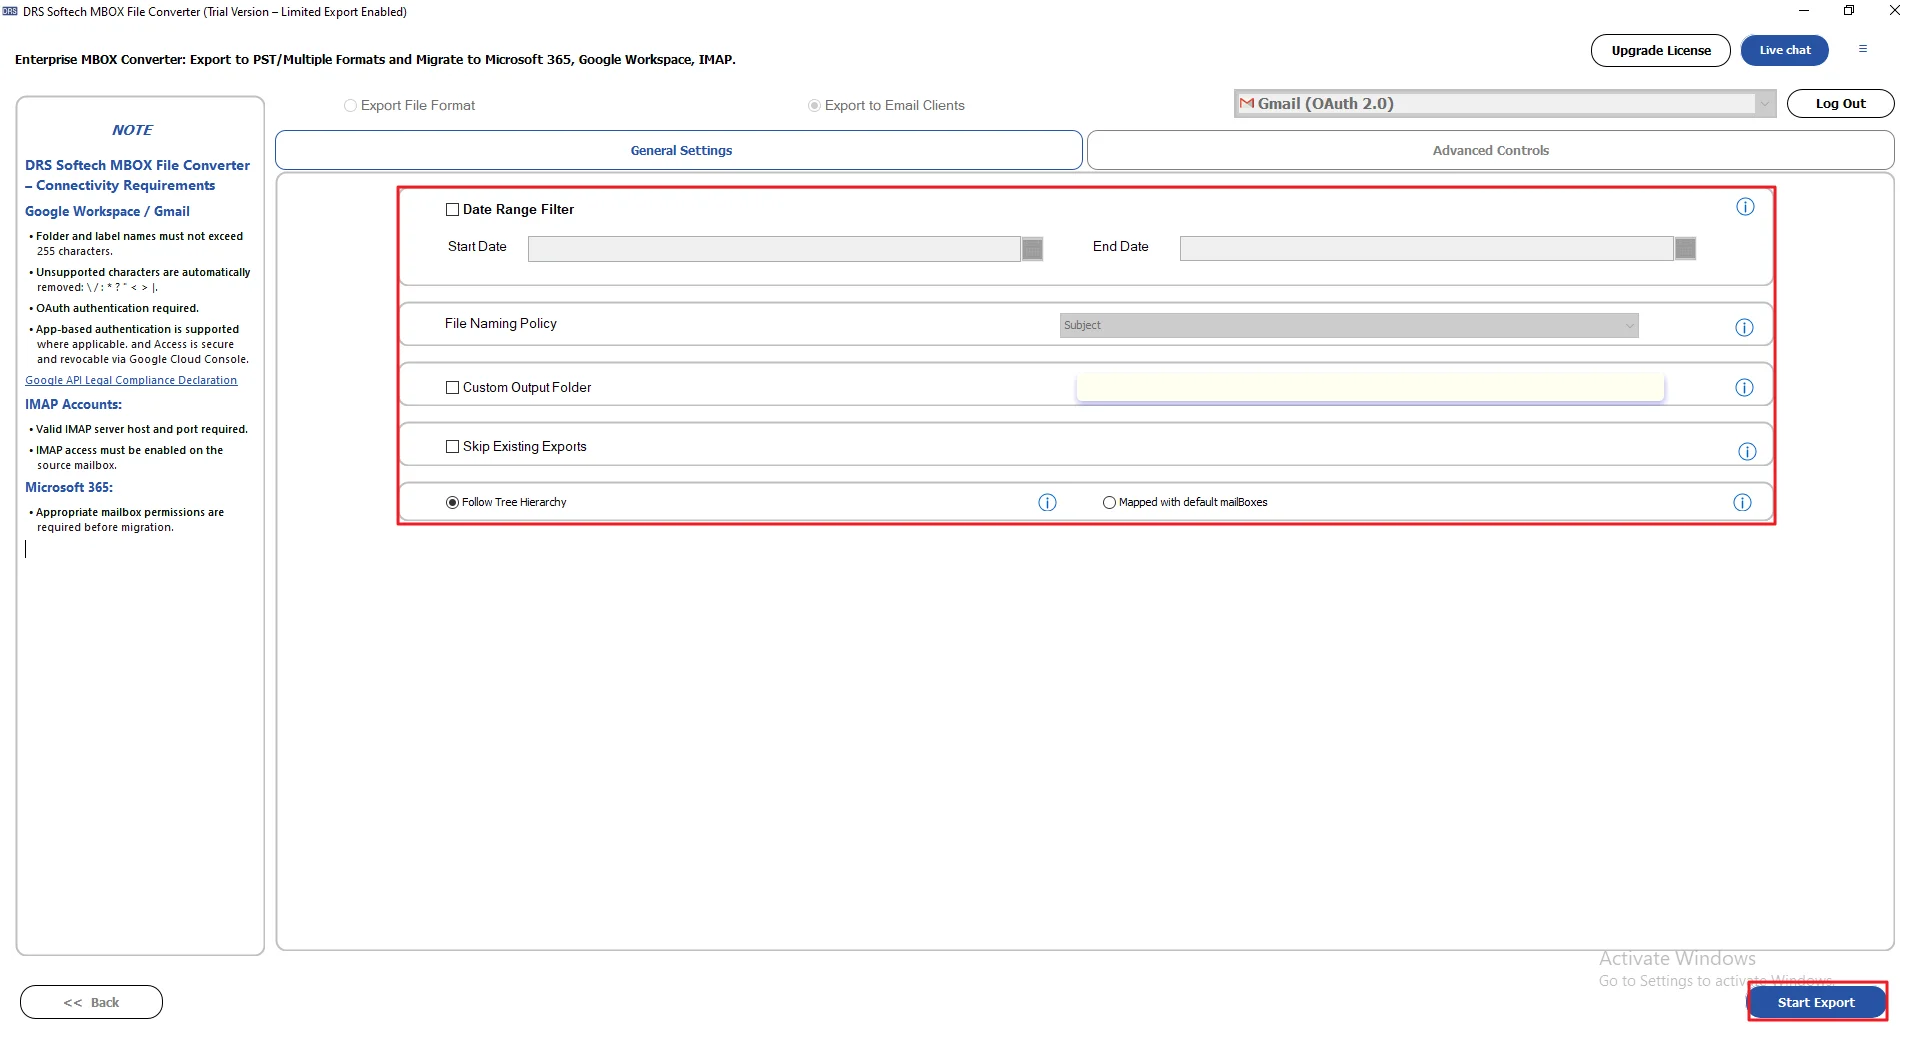
- Finally, apply filters/features and click Start Export.
Real-Life Scenario: Open MBOX to Gmail
Daniel had a bunch of old MBOX mailbox backups from his previous email client. Over time, things got messy. Finding specific emails wasn’t easy anymore. Gmail also didn’t open those files directly, which made things more frustrating. At first, he tried doing it manually. It didn’t go well. The process was slow, and syncing felt confusing. He also checked guides on importing MBOX to Gmail without Thunderbird, but nothing really worked smoothly for him.
Later, he tried the MigrateEmails MBOX Migrator Tool. That made things simpler. He uploaded his MBOX files into Gmail in one go. The emails came through properly, along with attachments and folder structure intact.
.
Advantages of the Professional Method:
- Helps users import MBOX to Titan Mail and other email.
- Supports bulk migration of large mailbox files.
- Preserves attachments, metadata, and folder hierarchy.
- Allows previewing emails before migration.
- Works with multiple email services and formats.
- Handles large mailbox files without performance issues.
Conclusion
Uploading MBOX files by manual method often takes time and can get complicated with bigger mailboxes. A dedicated solution to Import MBOX to Gmail helps simplify the process and ensures emails, attachments, and folders stay properly arranged. It is a practical option for both personal and business email migration needs.
Frequently Asked Questions
Q1. What is the easiest way to import MBOX to Gmail?
Ans. The easiest way is to use a simple migration tool instead of manual steps. The MigrateEmails MBOX Migrator Tool helps you upload MBOX files directly into Gmail without using email clients or complicated settings.
Q2. Is there a free way to upload MBOX to a Gmail account?
Ans. Manual methods exist, like Thunderbird, but they are not very smooth. Some users try the trial version of the MigrateEmails MBOX Migrator Tool to test the process before doing full migration.
Q3. Can I import multiple MBOX files to Gmail at once?
Ans. Yes, it is possible. The MigrateEmails MBOX Migrator Tool supports bulk import, so you can upload several MBOX files in one process instead of doing them one by one.
Q4. Is it possible to transfer MBOX emails to Gmail on Windows and Mac?
Ans. Yes, you can do it on both Windows and Mac systems. The MBOX Migrator Tool by MigrateEmails works across platforms and supports both environments.
Q5. Can I import MBOX to Gmail without technical knowledge?
Ans. Yes, you don’t need technical skills. The MigrateEmails MBOX Migrator Tool is designed with a simple interface so anyone can follow the steps easily.
Q6. What is an MBOX file?
Ans. An MBOX file is a mailbox format used to store multiple emails in a single file, including messages and attachments.
Q7. Is the MBOX to Gmail conversion safe?
Ans. Yes, it is safe if you use a reliable method. The MigrateEmails MBOX Migrator Tool keeps emails, attachments, and folder structure intact during the migration.
Q8. Which is the fastest way to import MBOX to Gmail?
Ans. The fastest way is using an automated tool instead of manual syncing. The MigrateEmails MBOX Migrator Tool speeds up the process by handling bulk email import efficiently.
About The Author:
I am Kiran Sharma, a Technical Expert in Content writing. I have technical expertise in the field of Email Backup, Data Recovery, and Email Migration, and resolve technical queries related to Cloud Backup or Email Migration for individuals and businesses.
Related Post